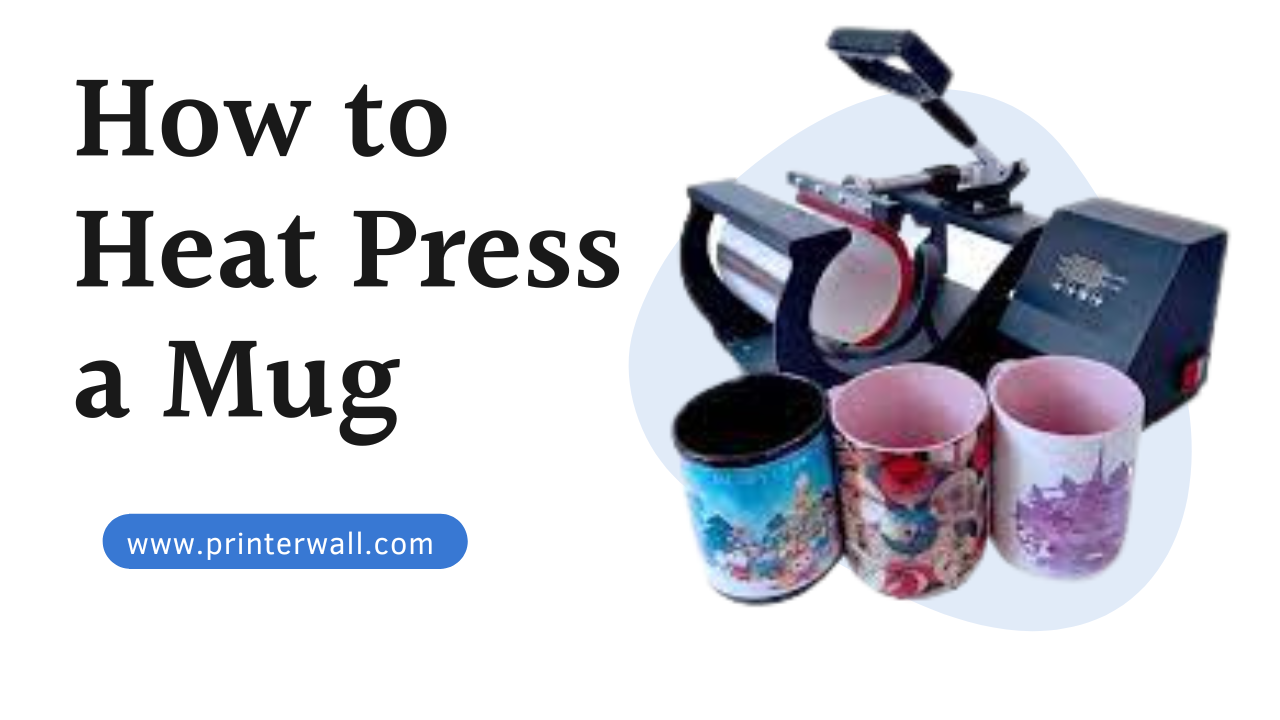
If you’re looking for a fun and creative way to customize mugs, look no further than heat pressing! Heat pressing is a great way to personalize a mug with your own design, logo, or text. With the right equipment and techniques, you can easily create a beautiful, personalized mug. In this guide, we’ll walk you through the process of heat pressing a mug, from preparing your artwork to pressing your mug. Before this article we have also cover the most hot topic “How to Heat Press Hat“. By the end of this guide, you’ll be an expert at heat pressing mugs!
Tools Require While Heating Press a Mug
- Heat Press Machine
- Mug Press Jig
- Mug Sublimation Printing Papers
- Heat Transfer Vinyl
- Heat Resistant Tape
- Heat Transfer Tape
- Heat Transfer Foils
- Heat Transfer Sheets
- Heat Transfer Ink
- Teflon Sheet
- Heat Gun
- Protective Gear (Gloves and Glasses)
Steps to Heat Press a Mug
Heat pressing a mug is an easy way to create a personalized mug with artwork or text. Heat pressing is a faster and more efficient method than using a mug press, which requires several steps. Here is a step-by-step guide to help you heat press a mug:
1. Gather your materials. You will need a mug, transfer paper, an iron, and a heat press.
2. Print your design onto the transfer paper. Make sure you reverse the design if you are using text.
3. Cut the transfer paper to fit the mug.
4. Place the transfer paper on the mug and press it down firmly.
5. Place the mug in the heat press and set the temperature to 350-400 degrees Fahrenheit.
6. Press the mug for 5-10 seconds.
7. Peel off the transfer paper to reveal your design.
8. Allow the mug to cool before using it. Following these steps will help you create a personalized mug with a professional look. Heat pressing the mug is a great way to quickly and easily create a unique gift or souvenir.
Conclusion
Heating press mugs are an easy and fun way to create a unique gift for any occasion. With a few simple steps, you can make your own mug with any design you’d like. First, you will need to select your design and transfer it onto the mug. Then, you will need to set up your heat press and adjust the settings for the mug. Finally, you will press the mug for the designated time and then remove the transfer paper. After your mug has cooled, you can enjoy your custom creation.
FAQs
What type of mug should I use when heat pressing?
It is best to use a mug made of ceramic, glass or metal. Avoid mugs made of plastic or other materials that may not be able to withstand the heat.
How long should I heat press the mug?
The amount of time you need to heat press a mug depends on the temperature and size of your mug. Generally, it is best to heat press for around 90 seconds.
What type of heat press should I use for mug pressing?
It is best to use a mug heat press designed specifically for mugs. These machines are designed to apply even pressure across the surface of the mug and can accommodate mugs of various sizes.
How should I position the mug on the heat press?
Position the mug on the heat press so that the surface to be pressed is facing up. Make sure that the mug is centered and that no part of the mug is overlapping the edge of the heat press.
